

Installing as guest in VMware
This chapter explains how to virtualize Athena OS inside of VMware in order to run Athena OS as virtual machine. This approach could be useful in case you would like to have a separated machine from the host that could also interact with other virtual machines, the host itself and other endpoints on the local network.
For this guide, VMware Workstation on Linux has been used, but the steps are the same for Windows.
Once you downloaded and installed VMware Workstation, open it and click on Create a New Virtual Machine
Then, you can set the same choices that you see on the next images or you can tweak some option you wish


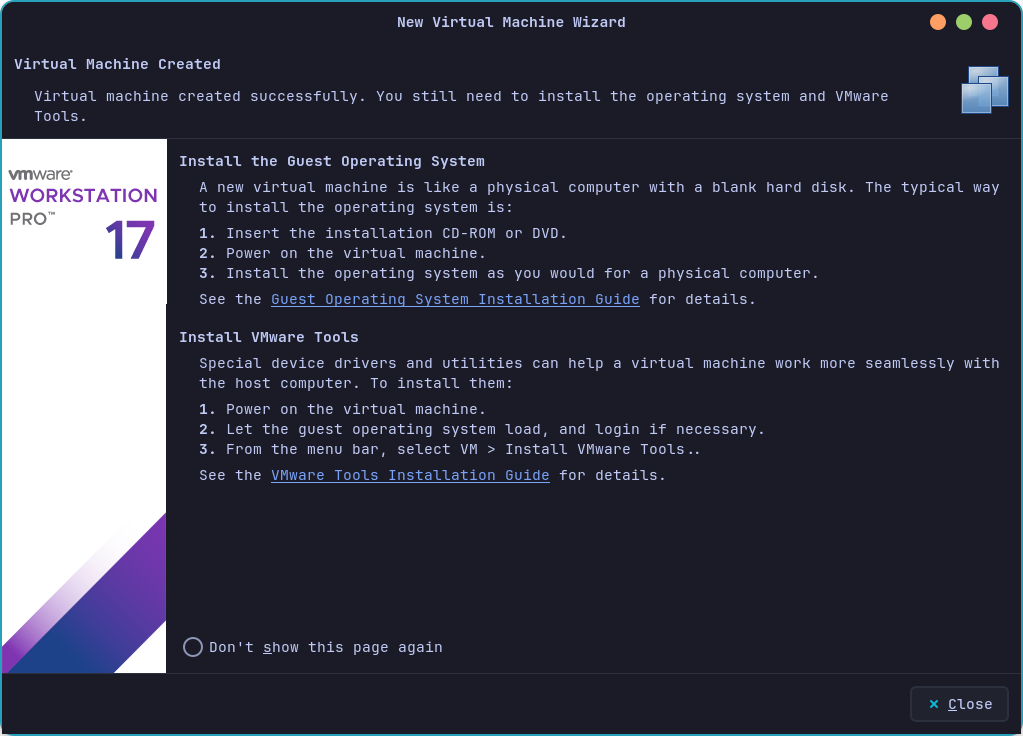
When you finished to set this initial configuration, we need to tweak some settings.
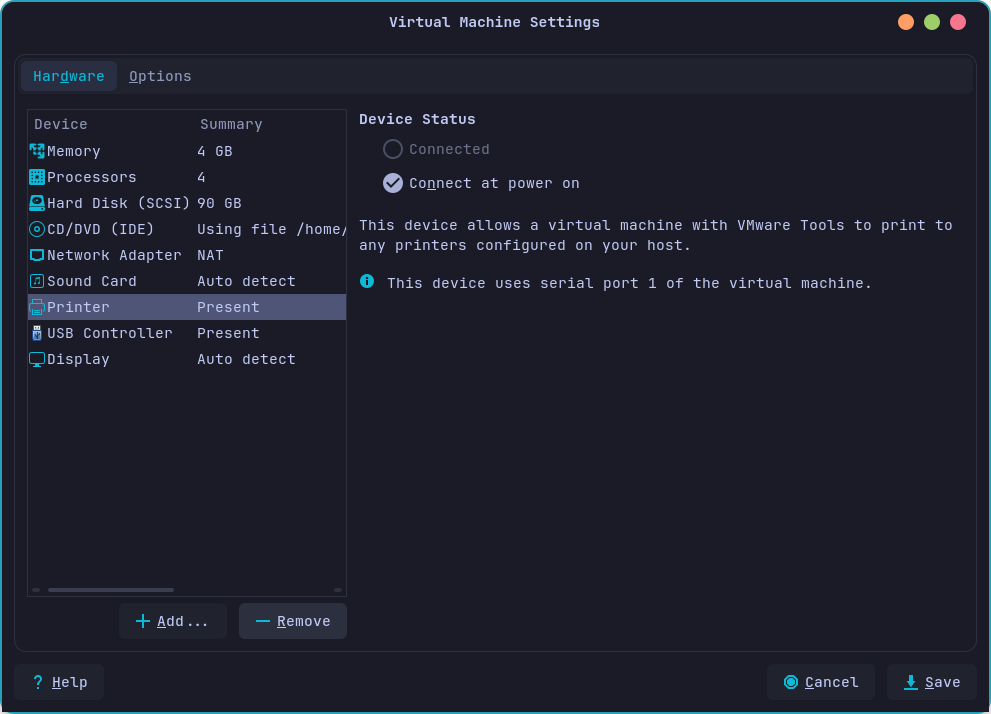
For first, click on Edit virtual machine settings and then click on Printer and click on Remove
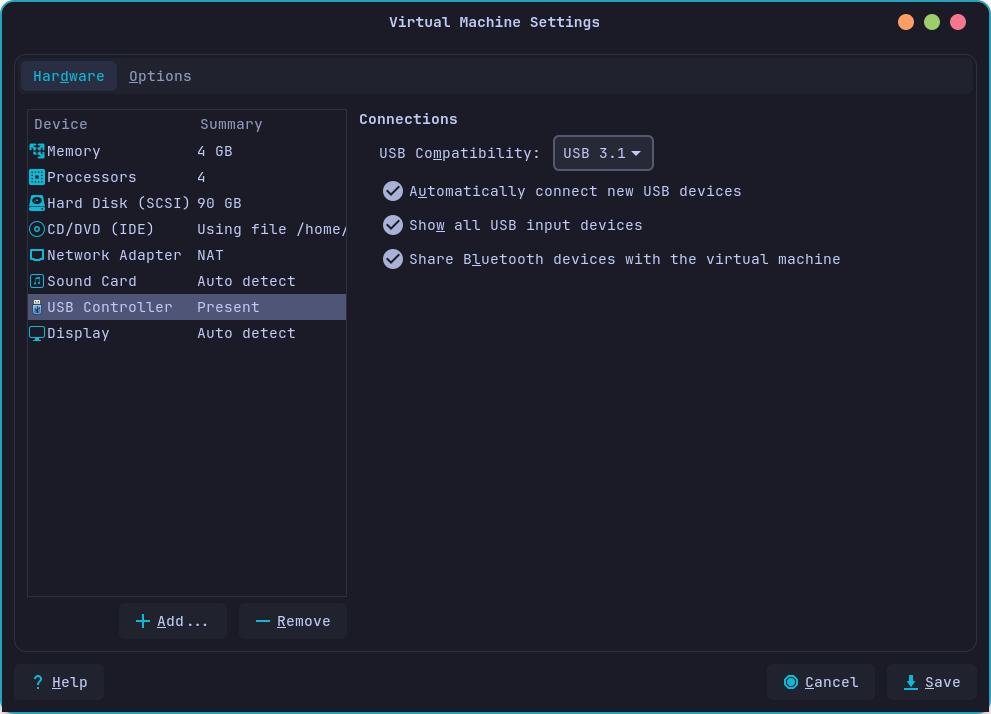
Then you can set the USB as you wish, for example
It is suggested on VMware to enable 3D Acceleration and assign some GB on it as the following
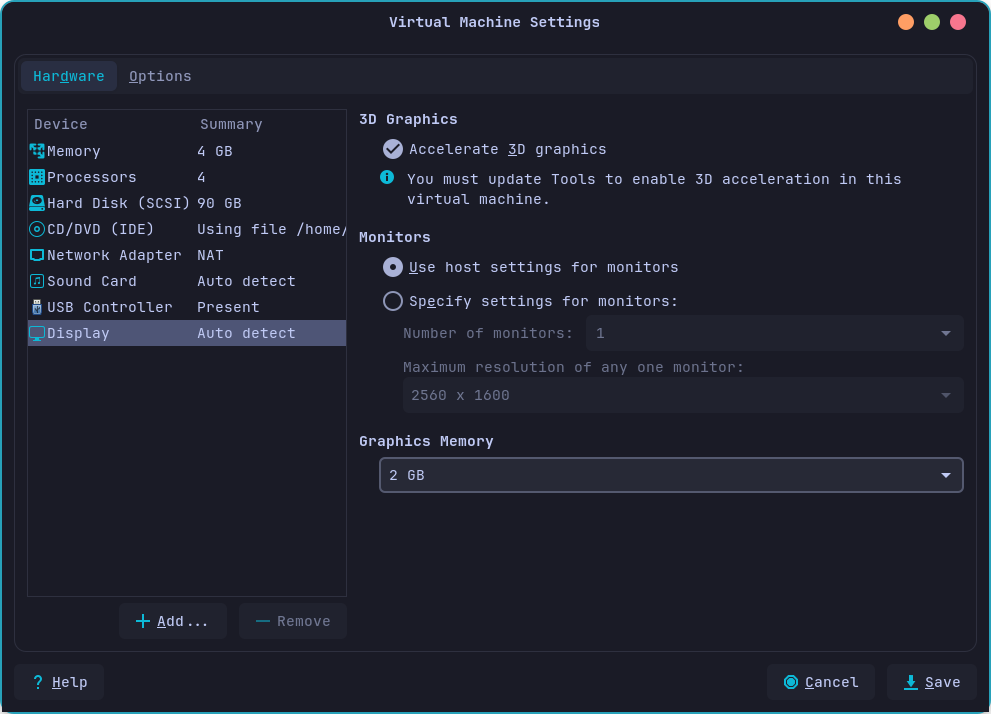
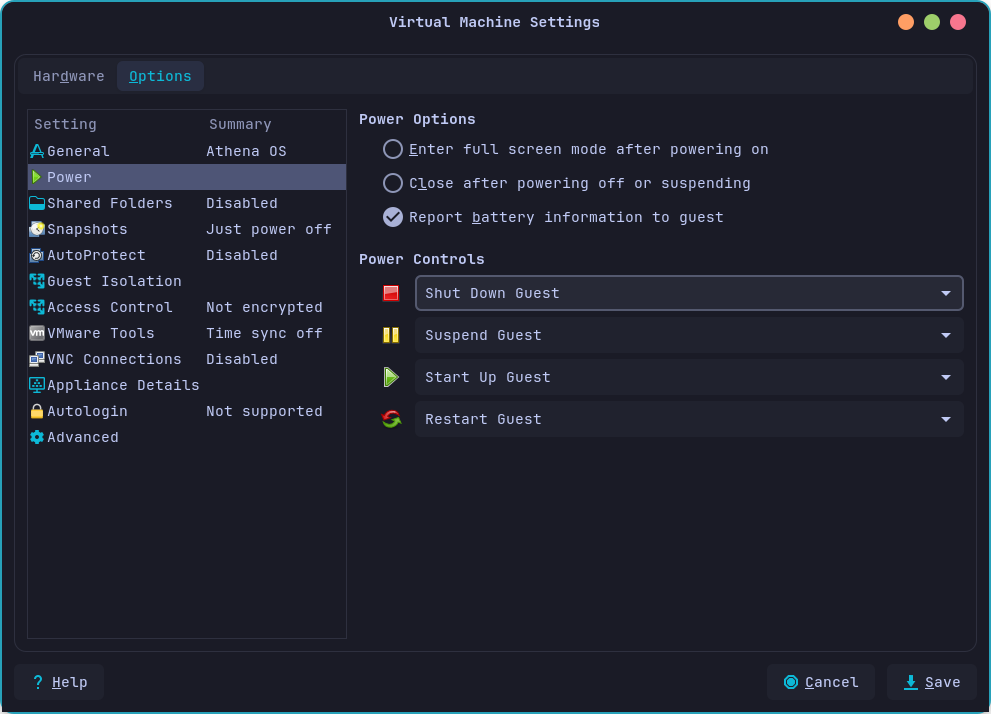
Move to Options tab. Enable the Report battery information to guests
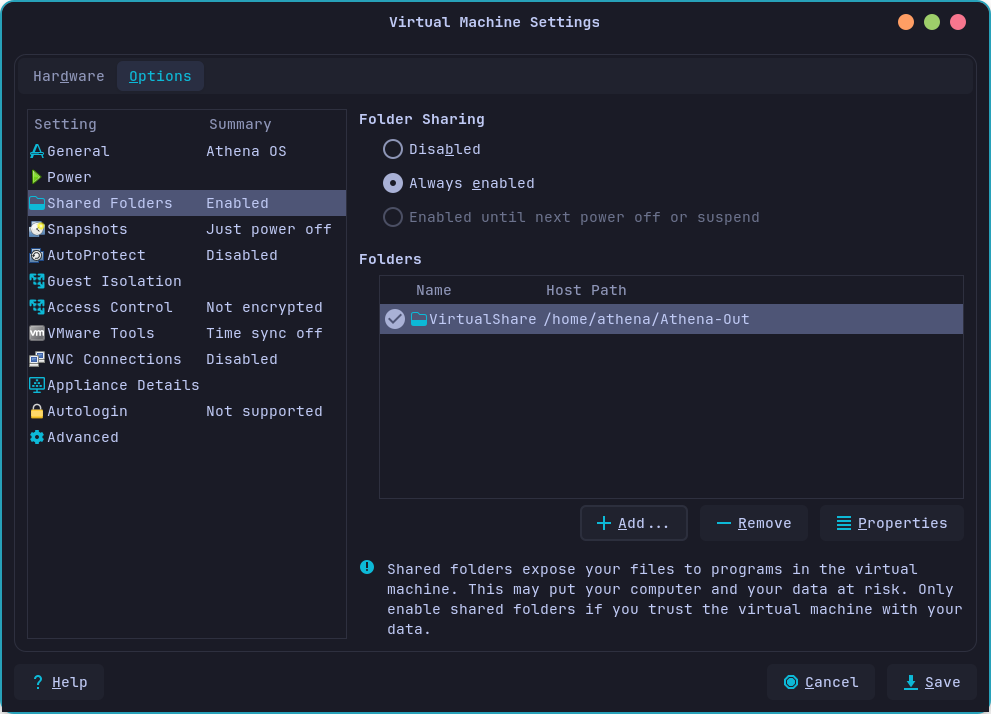
It could be useful to enable Shared Folders if you need to exchange files between the virtual machine and the host
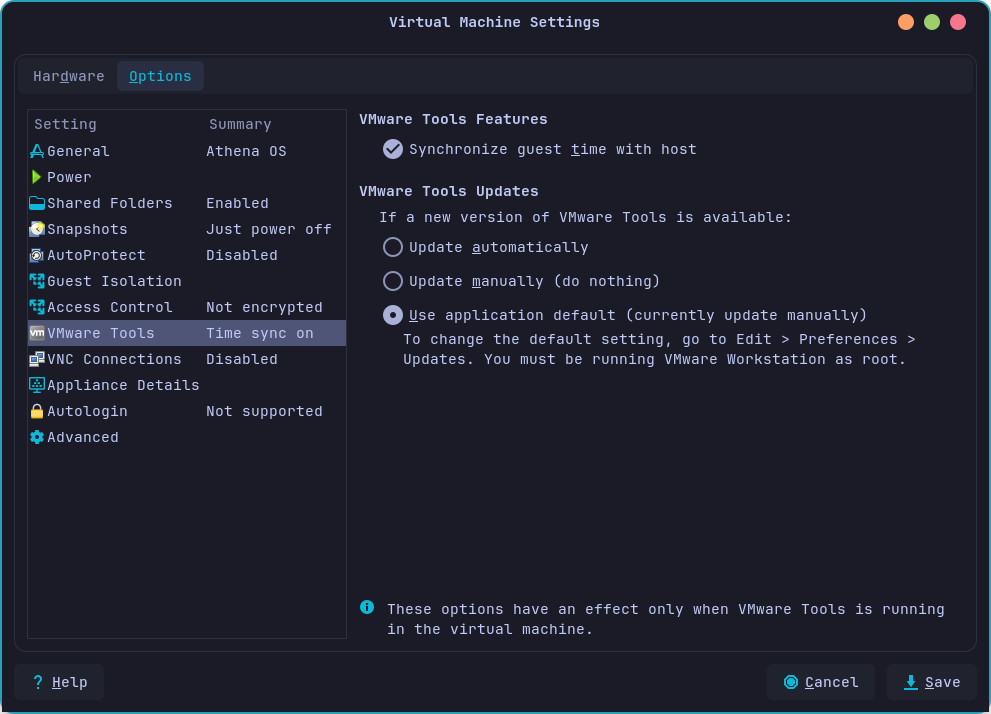
You can set also the Synchronize guest time with host option
Finally, go to Advanced and enable UEFI boot
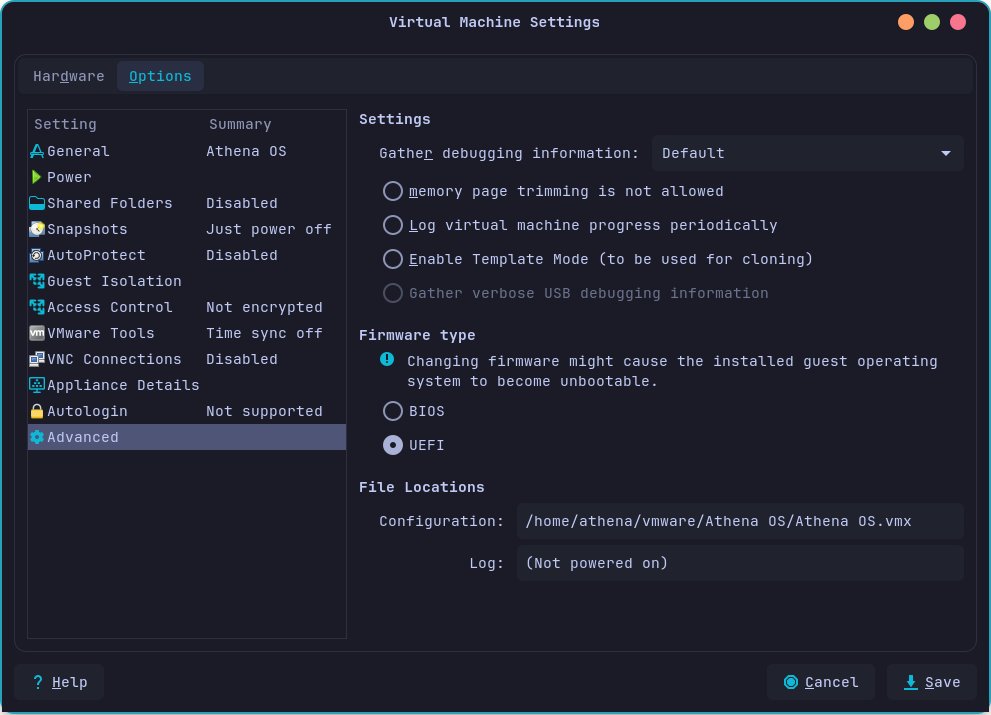
and save changes.
If you are using VMware client on Linux, open the terminal, and run:
sudo modprobe vmmonsudo modprobe vmnetsudo modprobe vmw_vmcisudo systemctl enable --now vmware-networksFinally, run the virtual machine and install Athena OS as explained in Installing as baremetal chapter.