

Installing as guest in VirtualBox
This chapter explains how to virtualize Athena OS inside of VirtualBox in order to run Athena OS as virtual machine. This approach could be useful in case you would like to have a separated machine from the host that could also interact with other virtual machines, the host itself and other endpoints on the local network.
For this guide, VirtualBox on Linux has been used, but the steps are the same for Windows.
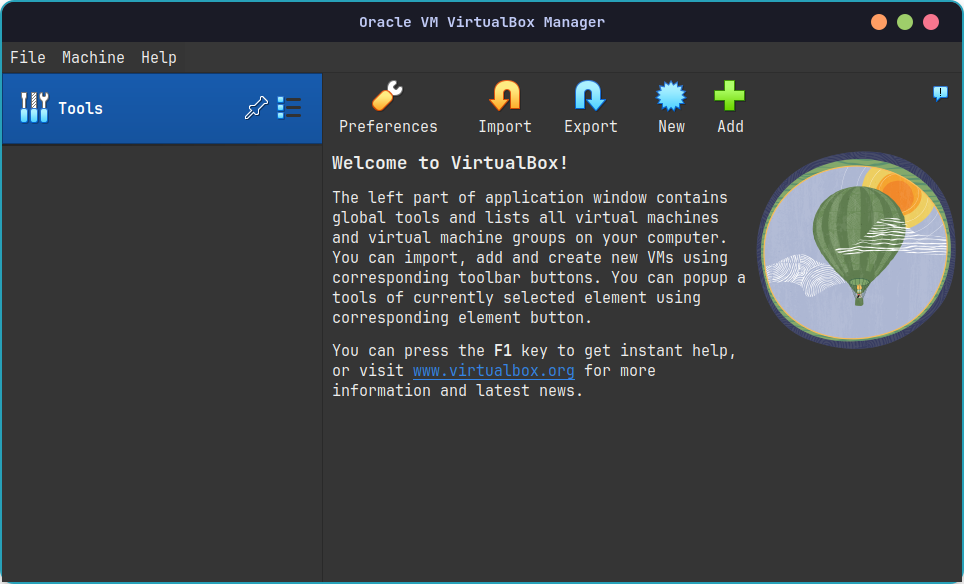
Once you downloaded and installed VirtualBox, open it and click on New button
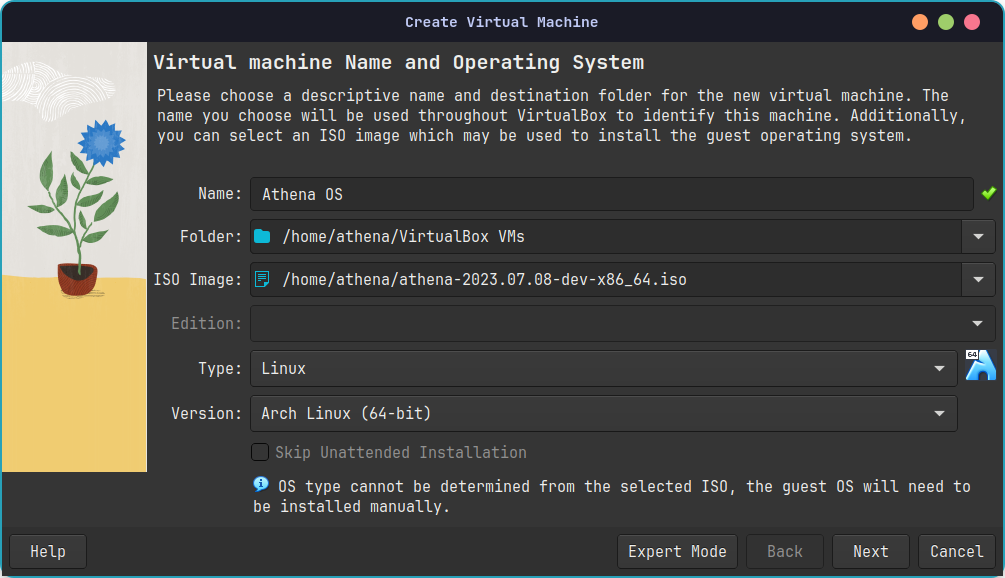
Then, you can set the same choices that you see on the next images or you can tweak some option you wish


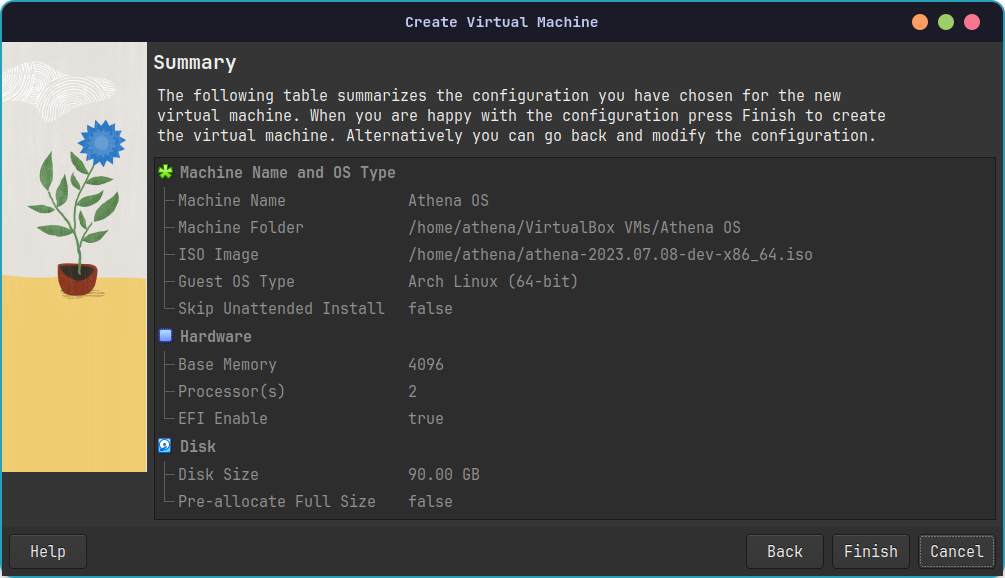
When you finished to set this initial configuration, we need to tweak some settings.
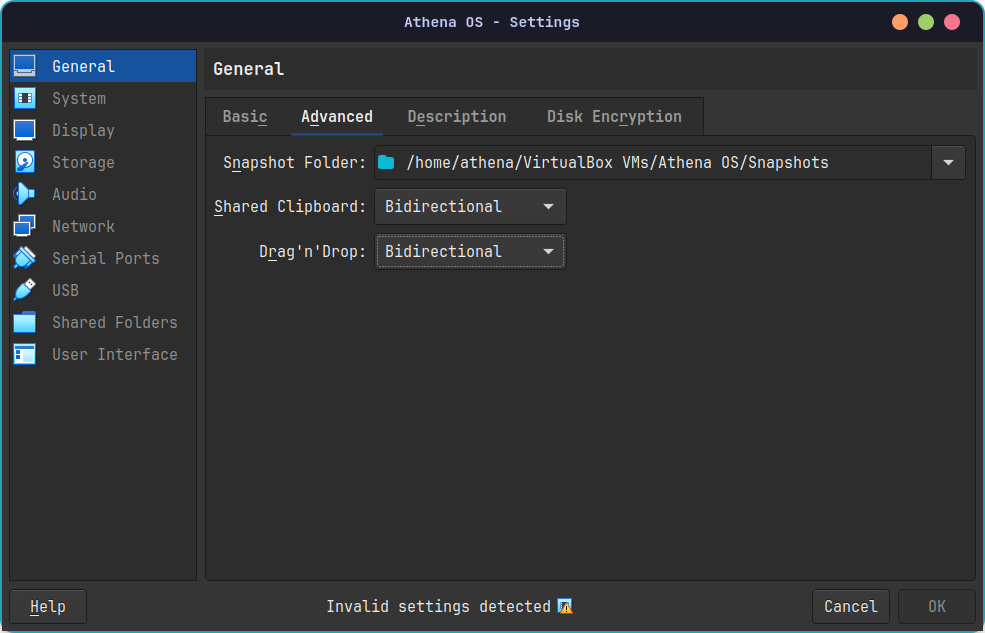
For first, click on Settings button and go on the General pane -> Advanced and set
Move to the System pane -> Motherboard tab and disable Floppy and set the Boot Order as
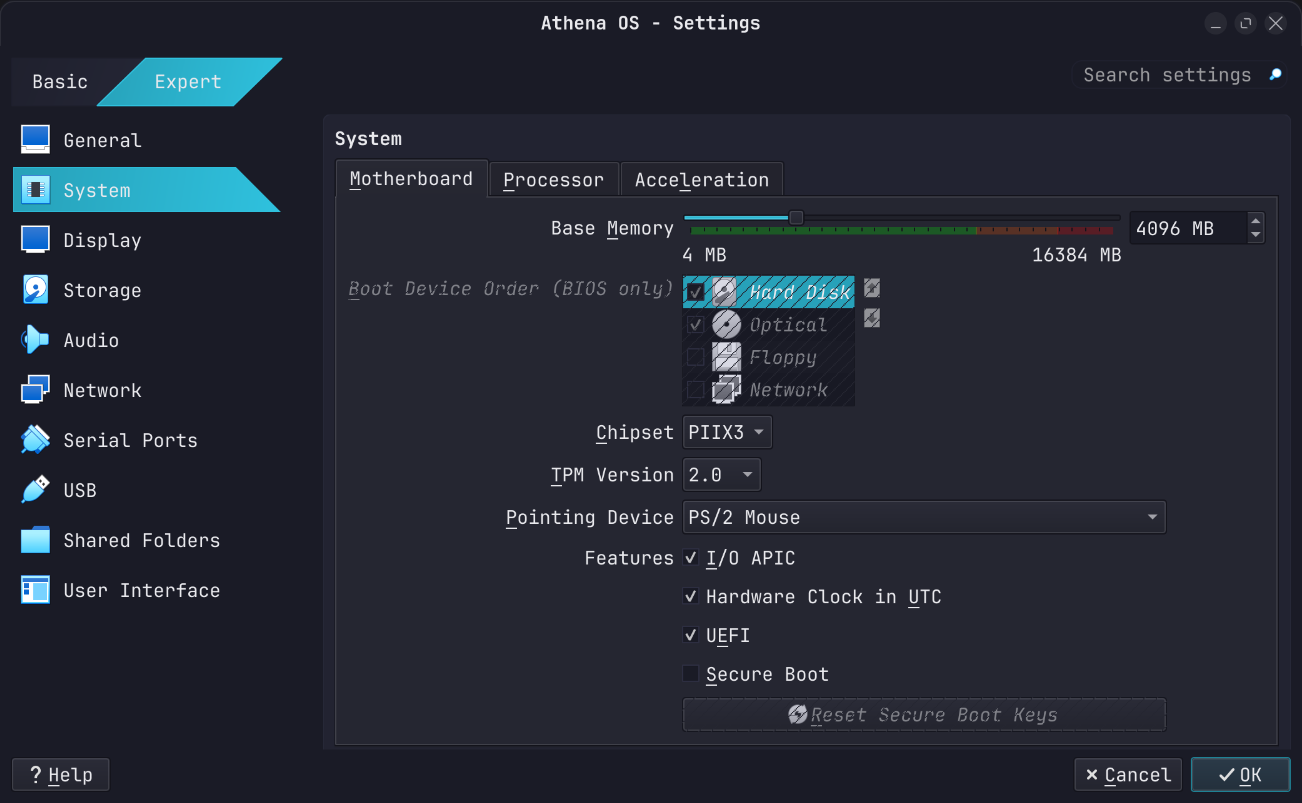
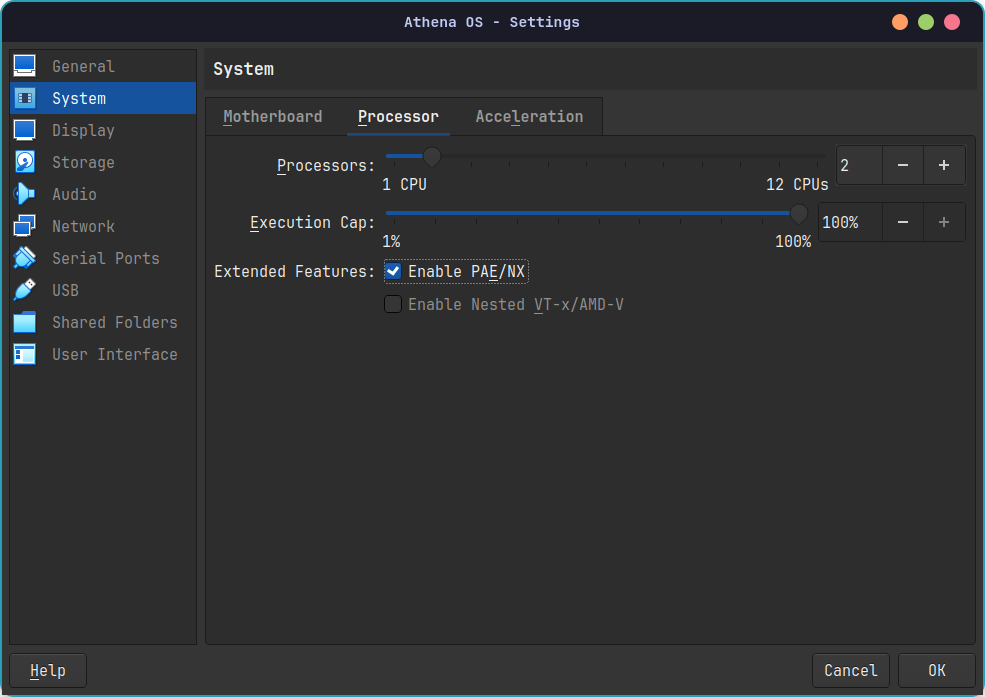
In TPM Version, select 2.0 and check UEFI box. Go to the Processor tab:
In the Display pane set the options as
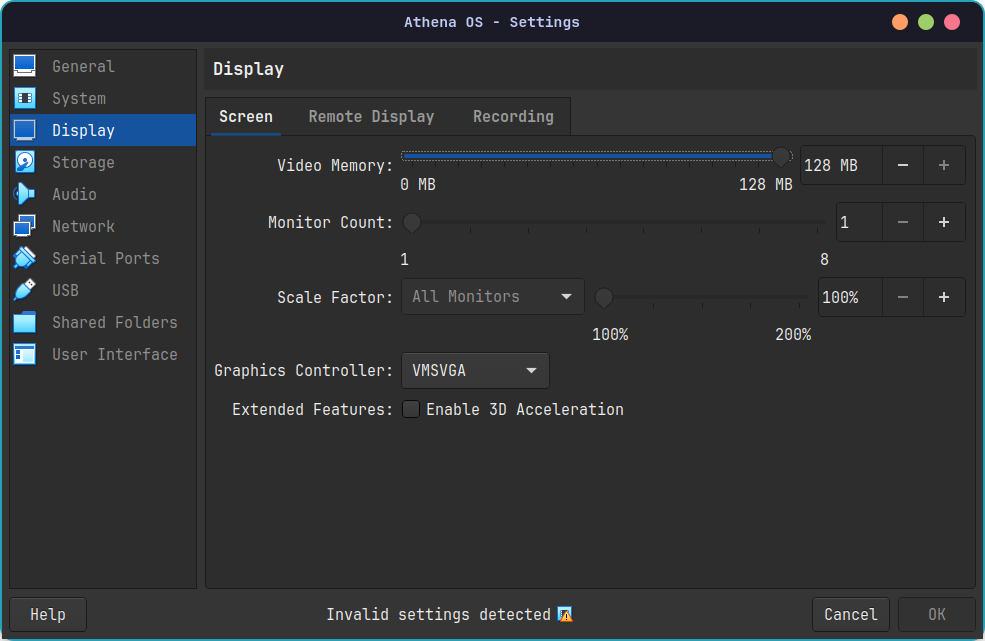
It is not suggested on VirtualBox to enable 3D Acceleration because it could cause graphic glitch and other issues.
Finally you can set the USB as you wish, for example

Save changes.
Open the terminal and run:
sudo usermod -aG vboxusers <your-username>to add your user account to the vboxusers group. Then, reboot your system.
After reboot, open VirtualBox, run the virtual machine and install Athena OS as explained in Installing as baremetal chapter.